Although experienced cooks have learned to add "a little of this" or "a lot of that" without bothering to measure, understanding the fundamentals of measuring helps prevent problems in baking or when trying new recipes. Certain ingredients require special attention to ensure accurate measurement.
Reading the Recipe
Read the ingredient list of a recipe closely to check whether an item is measured before or after some form of preparation. For example, "1 cup walnuts, chopped" calls for measuring the walnuts before chopping, while "1 cup chopped walnuts" directs you to measure the nuts after chopping.
Preparing an ingredient before or after measuring can make a big difference in the amount actually used. Using the same example, 1 cup chopped walnuts is actually more walnuts than 1 cup walnuts, chopped, because you can fit more chopped walnuts than unchopped ones into a measuring cup. Although the differences are sometimes not visible to the eye, they can seriously affect the outcome of recipes, especially when you are engaged in the exacting chemistry of baking.
Measuring Equipment
Every kitchen should have both dry and wet measuring cups, which are not interchangeable. For accurate measuring, use the correct type of cup.
Dry measuring cups are graduated cups in a standard set ranging from 1/4 cup to 1 cup. Sometimes a 1/8-cup measure is also included. They are usually made of heavy-duty plastic or stainless steel. Each cup, when leveled at its brim, measures a specific amount. Look for a 2-cup dry measure; recipes frequently call for this amount.
Liquid measuring cups look like pitchers with rulers printed vertically on the side. They are clear glass or plastic, have pour spouts, extra room at the top for sloshing liquid, and continuous markings for fluid ounces and cups. The two most common sizes are 1 quart and 1 cup, and some manufacturers include metric markings as well. Although a 2-cup size is less common, seek one out as it is convenient to have on hand. When measuring a liquid, place the cup on a flat surface, let the liquid settle, and then read it at eye level.
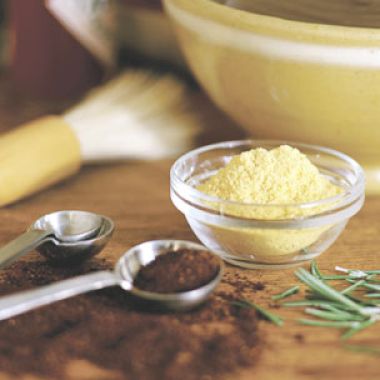
Measuring spoons come in a set of 1/4 teaspoon, 1/2 teaspoon, 1 teaspoon and 1 tablespoon. The occasional set will include 1/2 tablespoon or 1/8 teaspoon. You can use them for both dry and liquid ingredients. As with the dry cups, after filling a measuring spoon, level off the dry ingredient with a flat edge. If you don't have a 1/2-tablespoon measure, measure out 1 1/2 teaspoons.
Plastic, Stainless Steel or Glass?
Plastic dry measures are light and can be strong, but plastic can absorb oils and strong flavors. Metal ones are generally more durable, but avoid aluminum spoons, which will react with acidic ingredients, such as lemon juice and vinegar, creating an "off" flavor.
Plastic and glass liquid measures allow you to heat ingredients in the microwave. Pyrex glass measures can even be used on gas stoves to scald liquids.
Whatever the material, look for measuring cups with comfortable handles that are securely attached, easy-to-read numbers that won't wear away, and the ability to nest for compact storage.
Adapted from Williams-Sonoma Kitchen Companion: The A to Z Guide to Everyday Cooking, Equipment and Ingredients (Time-Life Books, 2000)


