


Nothing inspires creativity in the kitchen like baking and decorating cookies, and it's a project that the whole family can enjoy together. An easy-to-make royal icing is the basis for our cookie-decorating techniques. Because royal icing can harden quickly, decorate the cookies while the icing is still soft and moist.
Royal Icing
3 egg whites, at room temperature
4 1/2 cups confectioners' sugar, sifted
1/2 tsp. cream of tartar
Pinch of salt
In the bowl of an electric mixer fitted with the whisk attachment, beat the egg whites on medium-high speed until frothy. Add the confectioners' sugar, cream of tartar and salt and continue beating until stiff peaks form, 7 to 8 minutes. Remove the bowl from the mixer, cover tightly with plastic wrap and store at room temperature for up to 6 hours. Makes 5 to 6 cups.
What You'll Need for Decorating
Royal icing, some of regular consistency and some thinned (see Flowing below)
Food-coloring paste
Pastry bags with a small round tip (#2 size is good)
Icing pens
Colored sugars, glitters and confetti
Tips for Cutting and Baking Cookies
To yield the greatest number of cookies, begin cutting the rolled cookie dough from the edge.
When baking successive batches of cookies with one baking sheet, let the sheet cool to room temperature before placing more cookie dough on it. On a warm sheet, the dough would immediately begin to melt, distorting the cookies' shapes, thinning their edges and altering their texture.
After removing a baking sheet from the oven, let it cool on a wire rack for 5 minutes. In some cases, it is best to loosen the cookies using a metal spatula as soon as they are removed from the oven. This will prevent them from sticking to the sheet. Once the cookies have cooled and their shape has set, use the spatula to transfer them to wire racks to cool completely before icing and decorating.
Tinting
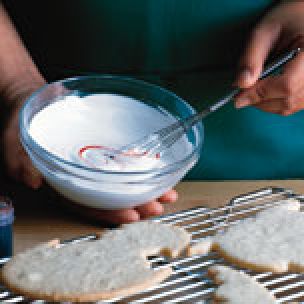
If you're making icing in several colors, first divide the plain icing among small bowls. Then add food-coloring paste, a tiny bit at a time, stirring each mixture with a small whisk or toothpick until it achieves the desired hue. To prevent a crust from forming, keep the icing tightly covered with plastic wrap while not in use.
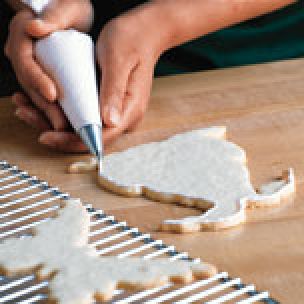
Flowing
Before icing is flowed from a pastry bag over the top of a cookie, make a border of royal icing around the area to be filled. Then thin the icing that will be flowed to ensure it spreads smoothly: Transfer a portion of the thick icing to a bowl and stir in warm water, 1 Tbs. at a time, until a drop of the icing slowly spreads outward without being watery.
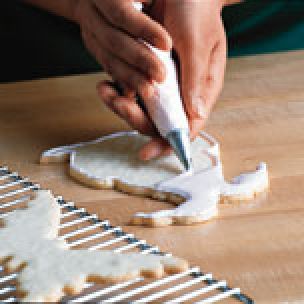
Filling
The thinned icing is best applied using a pastry bag fitted with a #2 tip. To fill in the outlined area, work from the perimeter toward the center, letting the icing flow while gently maneuvering it with the tip. Tiny air bubbles on the icing's surface indicate that too much air was whipped into it. Simply prick the bubbles with a straight pin while the icing is still moist.
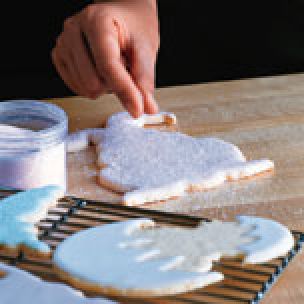
Flocking
While the thinned royal icing is still wet, sprinkle its surface with edible colored sugars, glitter or confetti. (These will also adhere to a border of thick icing if it is still moist.) Be sure the icing is completely dry before shaking off the excess decorations.
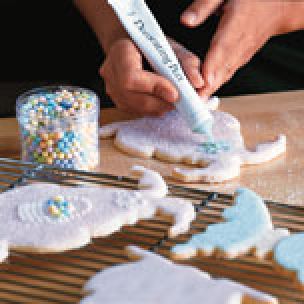
Borders and Lines
Royal icing has the ideal consistency for creating borders, lines and calligraphy. It can be easily applied using a pastry bag fitted with a small pointed decorating tip. Or you may use colored icing pens.
Joni German, Pastry Chef and Owner, Old River Road