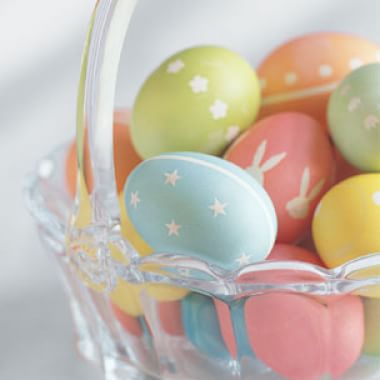
Brightly colored eggs are a traditional part of Easter. Dyed in multicolors or solid tones, they can be decorated with stripes, polka dots, stickers, stenciled flowers or free-form designs. You can create a rainbow of colors using red, blue, yellow and green food-safe dyes. To make peach, for example, add 1 drop of red dye and 3 drops of yellow to 1 cup of hot water. For a delicate lime green, add 3 drops of yellow and 1 drop of green to 1 cup of hot water.
Color is only the beginning. Using a few simple tools and techniques, there are many ways to express your creativity.
Attaching strips or cutouts of tape or stencils to an egg before dying it offers myriad design options. After the dyed egg is dry, remove the tape to reveal the pattern.
Using wax-resistant dyes is one of the oldest techniques for creating designs on Easter eggs. This method is used to make the renowned intricate Ukrainian Easter eggs. For a simplified effect, draw patterns with clear wax crayons before dying the egg. Since the dye cant penetrate the wax, the design will be left clear.
Wrapping rubber bands of different sizes and widths around the dry egg before dying it produces rubber-band patterns of every imaginable kind.
Applying stamps and stickers after coloring eggs offers endless possibilities for fanciful decorations.
Useful Equipment
- Small bowls or mugs for dyes
- Food-safe dyes
- Wire dippers
- Drying tray
- Trimming tape
- Clear wax crayon
- Decorative stamps and stickers
- Thin-tipped paintbrush
- Rubber bands
Making Hard-Cooked Eggs
Bring the eggs to room temperature. Gently set them in a large saucepan or in the pasta insert of a multipot. Fill with tepid water to cover the eggs by 1 inch. Bring the water to a boil over medium heat and add a large pinch of salt (this will help prevent cracking). Reduce the heat to low and simmer the eggs for 12 to 15 minutes, depending on size. Remove from the water and rinse with cold water.


